
The Subaru boxer engine is a very unique machine. Its flat design layout and odd firing order give it the feel and sound of absolute legends. Unfortunately, certain variations of the boxer engine do carry some undesirable traits and none are more pressing than the head gasket issue that plagues the Phase I EJ25. This engine, which was Subaru’s first DOHC EJ series four cylinder, can be found in the second generation Legacy GT sedans and wagons (96-99) as well as the Outbacks of similar vintage. Even though it was innovative, light (due to its all aluminum construction) and enjoyed being revved, Subaru must have been excessively drunk on sake when they decided to install the gaskets that separate coolant and oil. The OEM head gaskets on the EJ25D have a tendency to fail just as much as the sun has a tendency to rise in the east. If you have one and the head gaskets have NOT been replaced, here is what you need to do to remedy a tragedy.
First things first, you must decide whether or not to do the job with the engine in or out of the car. Now, it is possible to do this with the engine still mounted in place, but in all honesty, it isn’t worth it. The trouble you might save will just come back to bite you in the butt. It is best to remove the engine as this way you have a lot more room to work and you can accomplish a few more maintenance issues while you’re at it. I hate to say it, but if you have any doubts (and I mean ANY) about pulling the engine, you do not need to be doing a head gasket job yourself. Save up for a shop (average head gasket job is $1200 total).

(Please note: the engine being pulled in the first few pictures is a single cam EJ22)
Pulling a Subaru engine is actually fairly simple. The Legacy/Outback bell-housing (connection of engine to transmission) has eight bolts. There are another two bolts for the engine mounts and a total of six for the exhaust headers. That’s 16 bolts to be unbolted and your engine is free. To start, disconnect the fuel pump sender to relieve the fuel pressure (attempt to start the car with this disconnected to “flush out the fuel”), remove the accessories (alternator, power steering pump and air conditioner) as well as the air box/intake.
Drain the coolant (lower radiator hose works fine) and make sure that when you remove the intake components to label (or take a mental picture of) the vacuum line system. This will be vital when putting everything back together. It seems best to remove the intake manifold while you are at it, but this is not a must. It will free up space and let’s face it; the EJ25D is a big engine.

With the accessories, intake components, fuel and radiator disconnected, you can begin removing the bolts that hold the engine in place. The engine mounts are simple enough and I’d advice to jack the car up a little to allow some working space. You can easily spot these two bolts on the cross-member. While under the car, remove the exhaust bolts on the headers (PB Blaster is your friend). Once these are all disconnected, you can tackle the bell-housing bolts. The lower passenger bolts can be accessed from the top (as well as the upper bolts) but the lower driver side bolt is best accessed via underneath. We found it to be easiest (if there ever is such a thing) to remove the driver side tire so a plethora of extensions can gain access to the bolt.

I’m going to state this one more time: if anything in the above two paragraphs seems foreign to you, you do not need to be doing this job. Learning is great, but there is a reason most of us start out small. This is a big job and if done wrong, can turn your engine into an all aluminum paper weight.
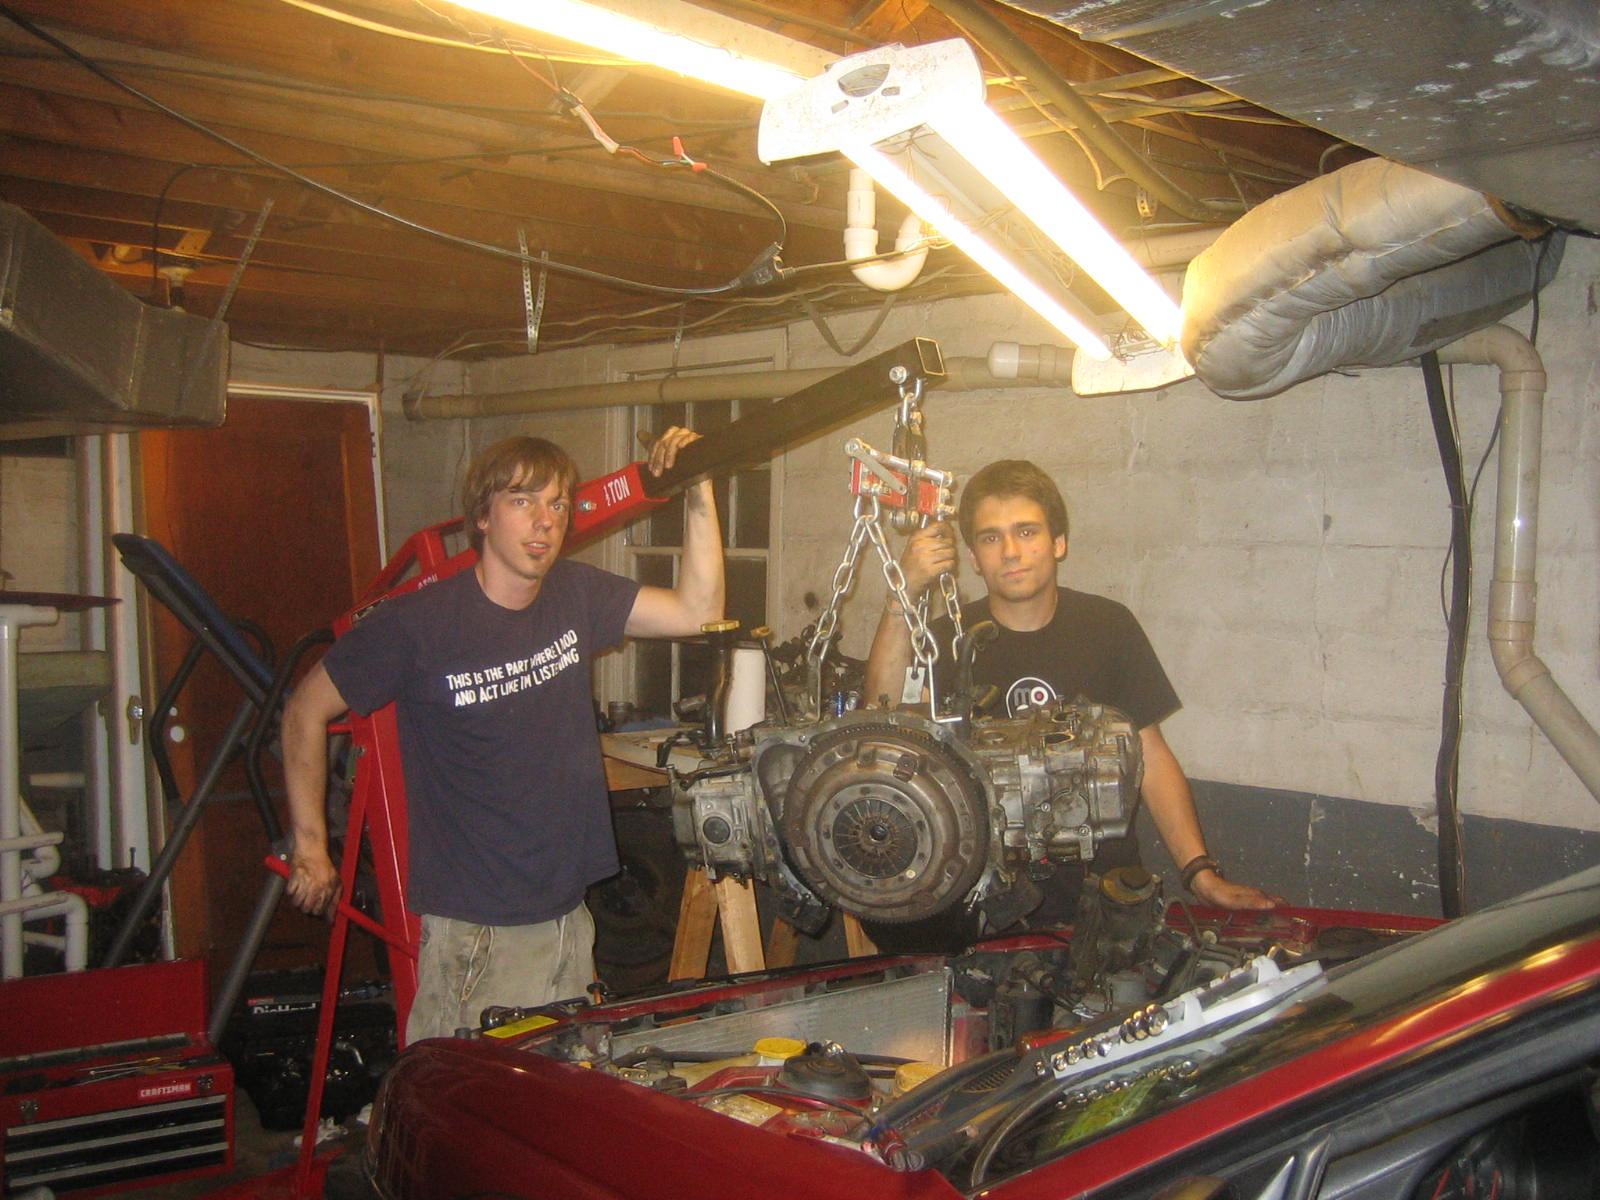
With the engine unbolted, it will take some convincing to be removed. If you have access to a jack, this can be used to leverage the transmission away from the engine while it is being pulled by the hoist. Position the jack under the transmission and then bolt up the engine to the hoist. Depending on what type of hoist you are using, you can use common sense as to where to bolt the hooks to the block. Make sure nothing will strip or cause damage to the block when stress is applied. And remember, this isn’t a race: take your time.

So, your engine is out and on an engine stand (or dangling in the wind if you’re lazy/cheap), now what? Get some sleep because you’ve got some real concentration ahead of you. Gather your tools and set up a clean area to safely place the long block components.

If you removed the intake manifold already, the next step is to remove the heads. This means removing the timing belt: this is where it can get kind of scary. The timing belt IS the most vital aspect of this engine and must be removed properly. Gain access to it by removing the crank pulley and the front timing belt cover. This will allow you set the timing safely so no damage will be caused to the valves and pistons. A Haynes/Chilton or the FSM will be your greatest asset here: follow each step TO THE DOT.
Once you have the crank pulley and timing belt cover removed, you can properly set the timing so the pistons are fully recessed inside the cylinder walls. There are two marks on the crank sprocket: one for Top Dead Center and another for recession. DO NOT set the timing to Top Dead Center: this could cause the valves to open and “kiss” the piston tops, potentially bending the valves. The cam sprockets have timing marks as well to indicate the recessed setting. When this setting is achieved (and you’ve double checked and double checked again) you can begin to remove the timing belt itself.

(Picture source: Warrior, SL-i.net)
Removing the inner tension pulley will allow for the timing belt to be safely removed so the crank and camshafts stay in place. Work from one end of the belt to the other and be very gentle: this isn’t a race. Once the belt is removed, the camshafts must now be taken out in order to reach the head bolts. Start by removing the cam sprockets which is another task that is made easier by an assistant. There are camshaft locking tools out there that will hold the sprockets in place while the bolt is removed, but they come at a cost. With a heavy-duty crescent wrench held by a strong-armed friend placed on the hex portion of the camshaft itself, the cams should stay in place while you attack the sprocket bolts. This will take a few attempts, but it should work. Start with the passenger side head first as this side is not under pressure. The driver side cams however are, due to the cam lobs holding the valves open. If the camshafts are rotated too much, the release of that pressure will send the cams in frenzied rotation. This can be dangerous if the engine’s timing is set to TDC because the valves can potentially interfere with the pistons. But, if the timing is set right, you will not need to worry too much. Do each camshaft one at a time and make sure that if they need to be rotated that they are done so in the proper direction. (See picture).

With the camshaft sprocket removed, it now becomes fairly straight forward. Remove the camshaft journals (two for each cam) and then carefully remove the camshafts themselves. The lifters will probably want to slide out, so be careful not to allow them to simply drop out.

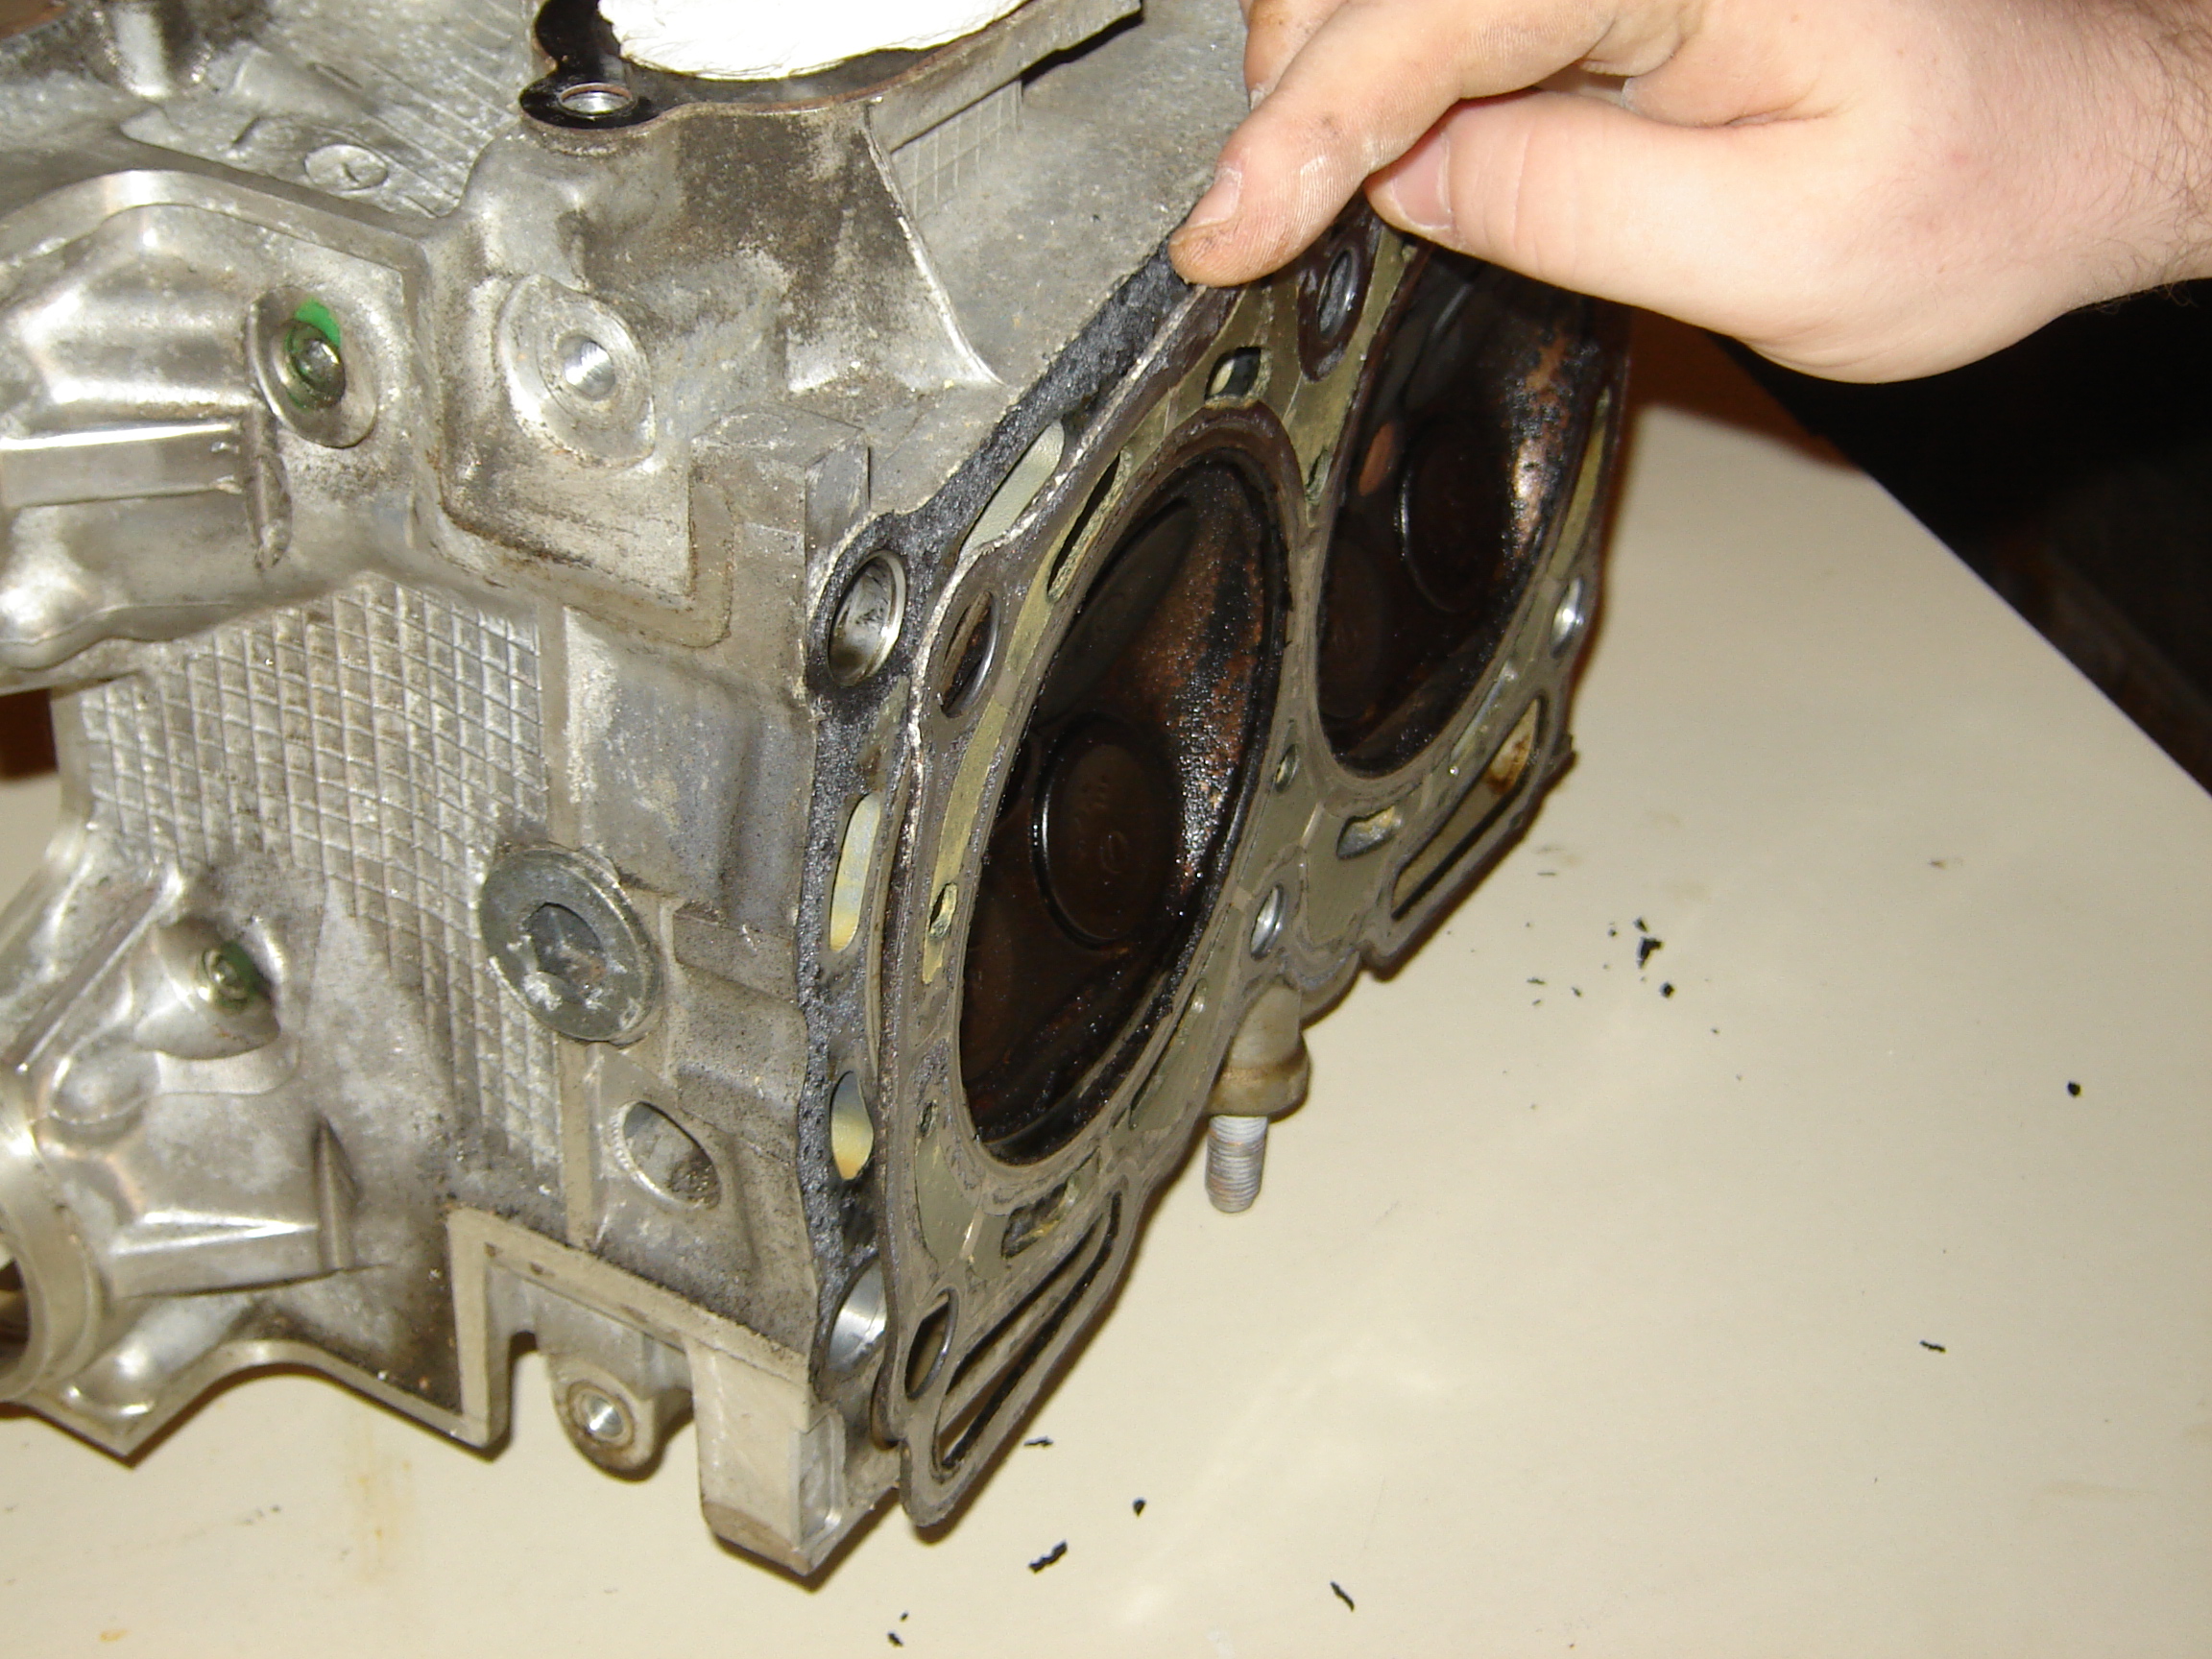
Set the cams, lifters, and journal caps neatly aside and label everything so it all gets put back in the exact location it came from. Next, go for the head bolts. These are aluminum heads, so they might make a funny noise but that is normal. Make sure to organize these too as each bolt must go back in its original location. This is all that holds your heads from the block itself.

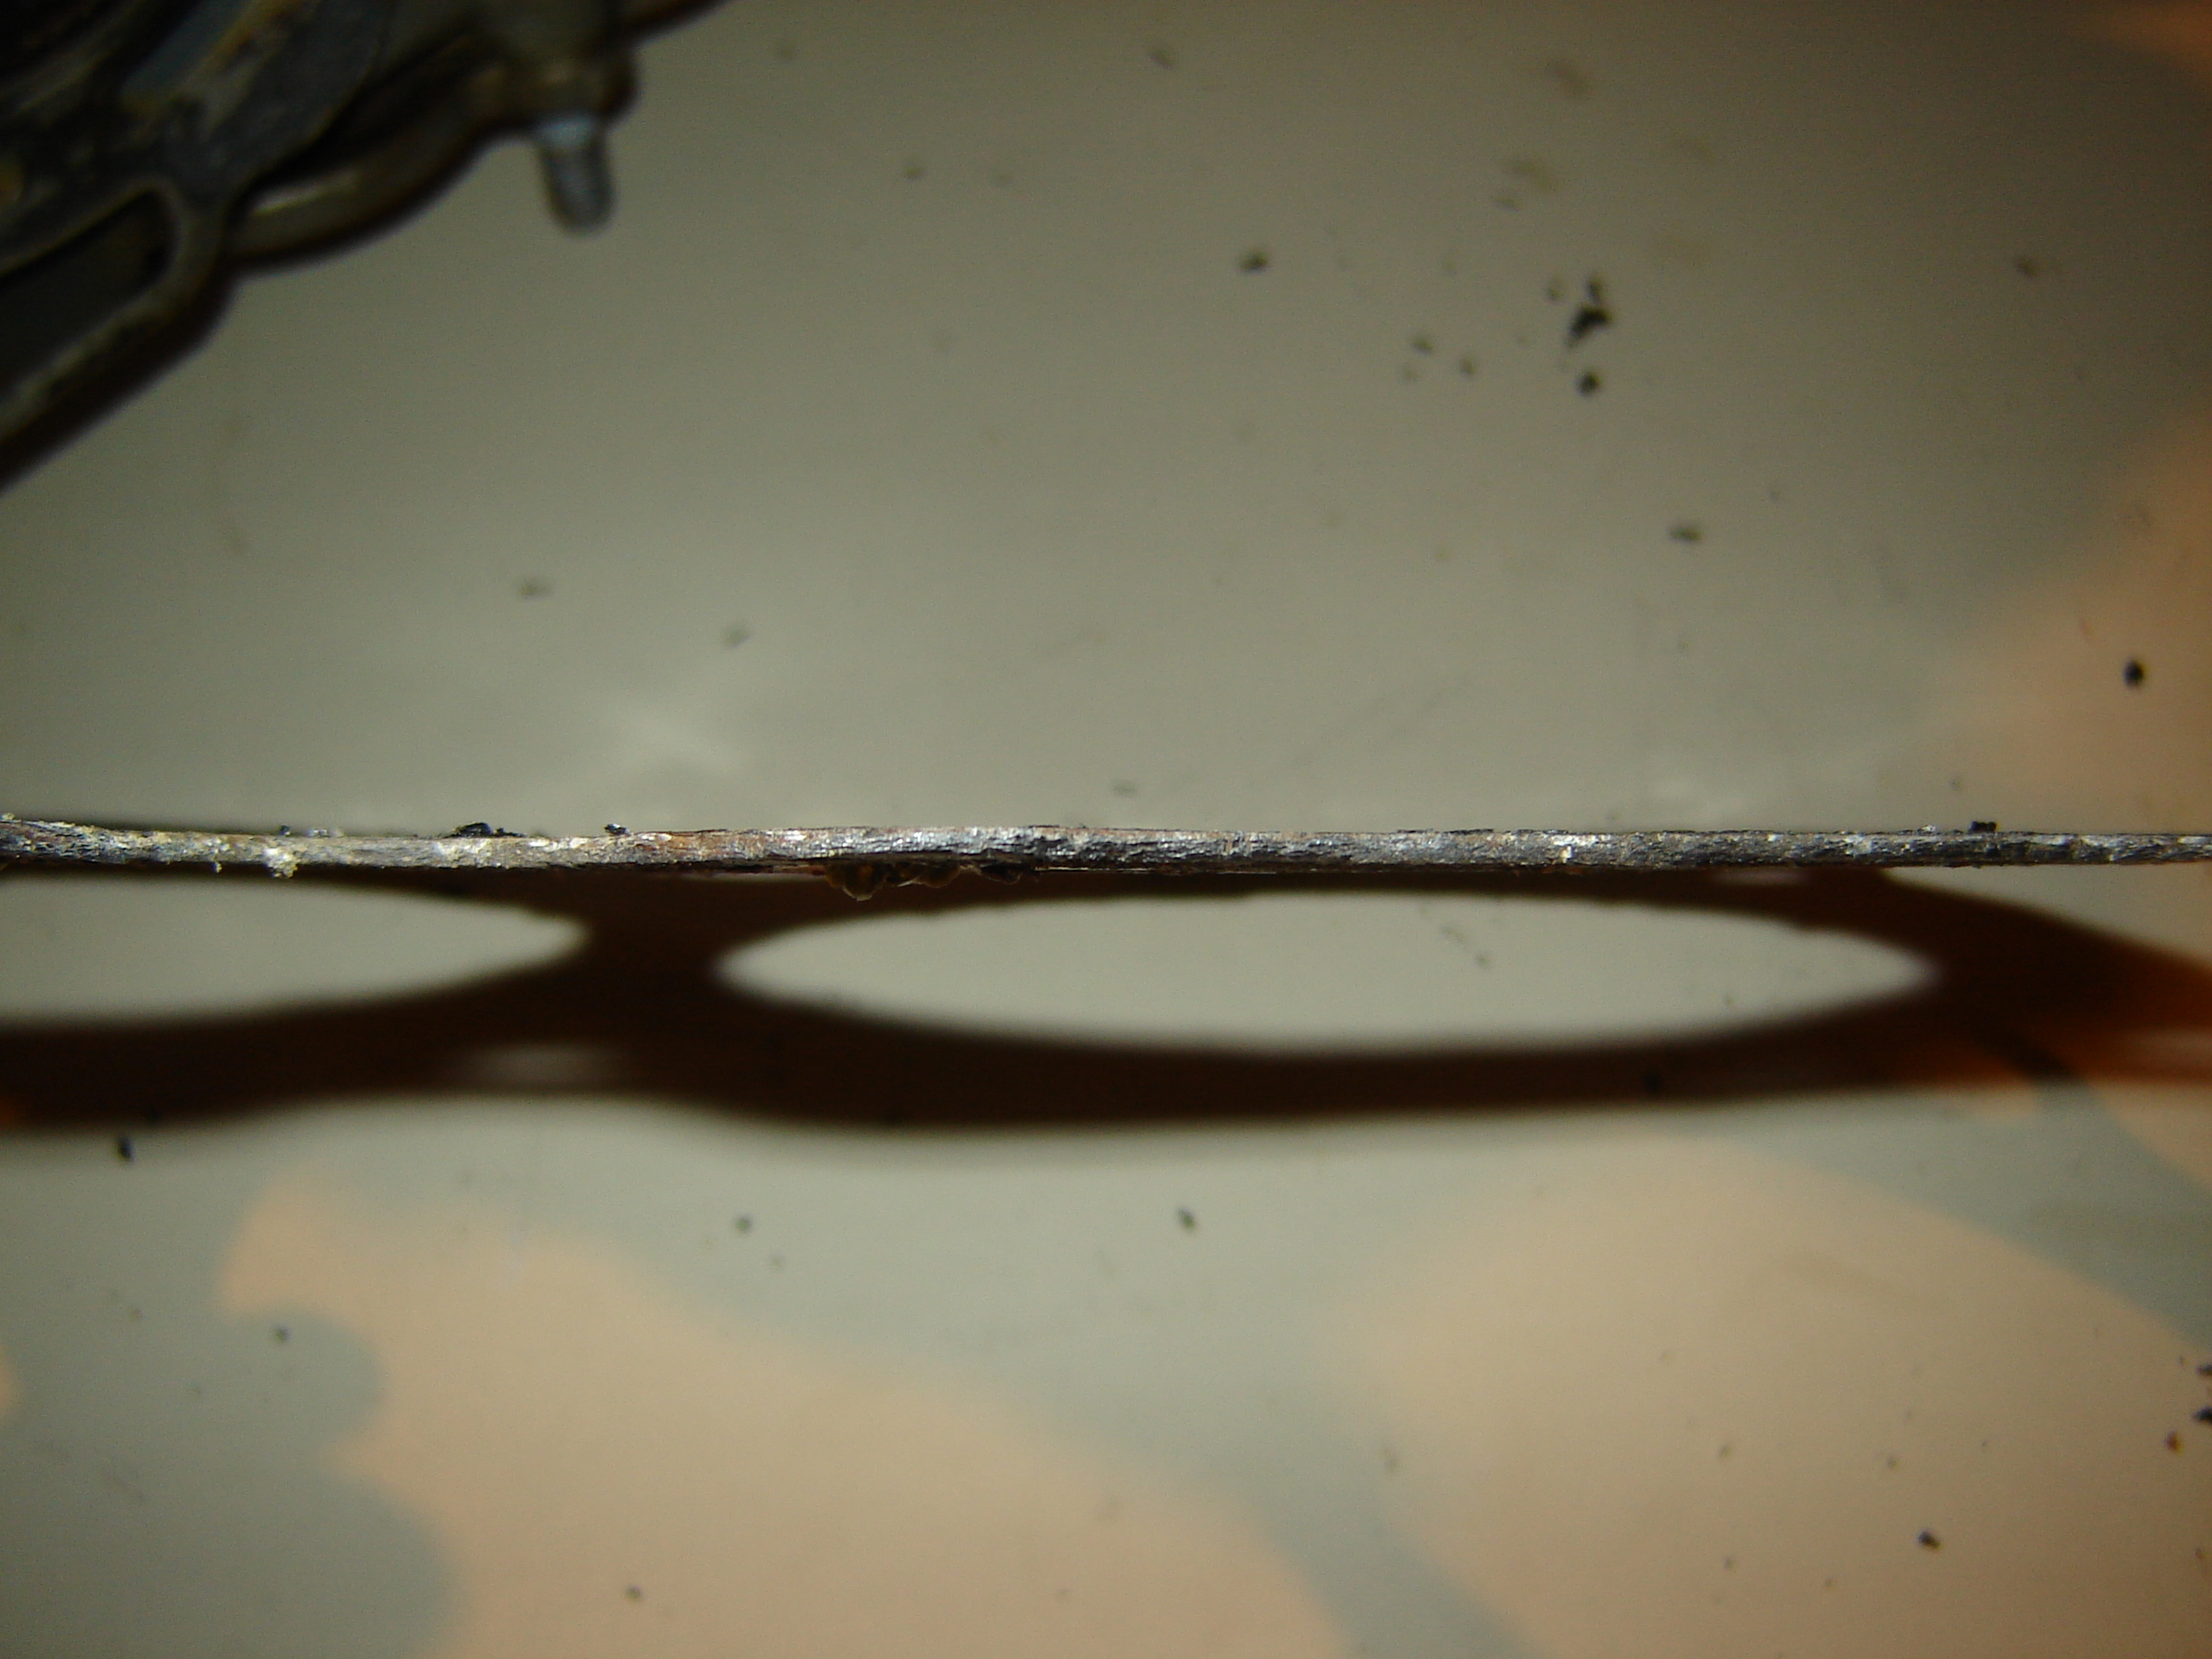
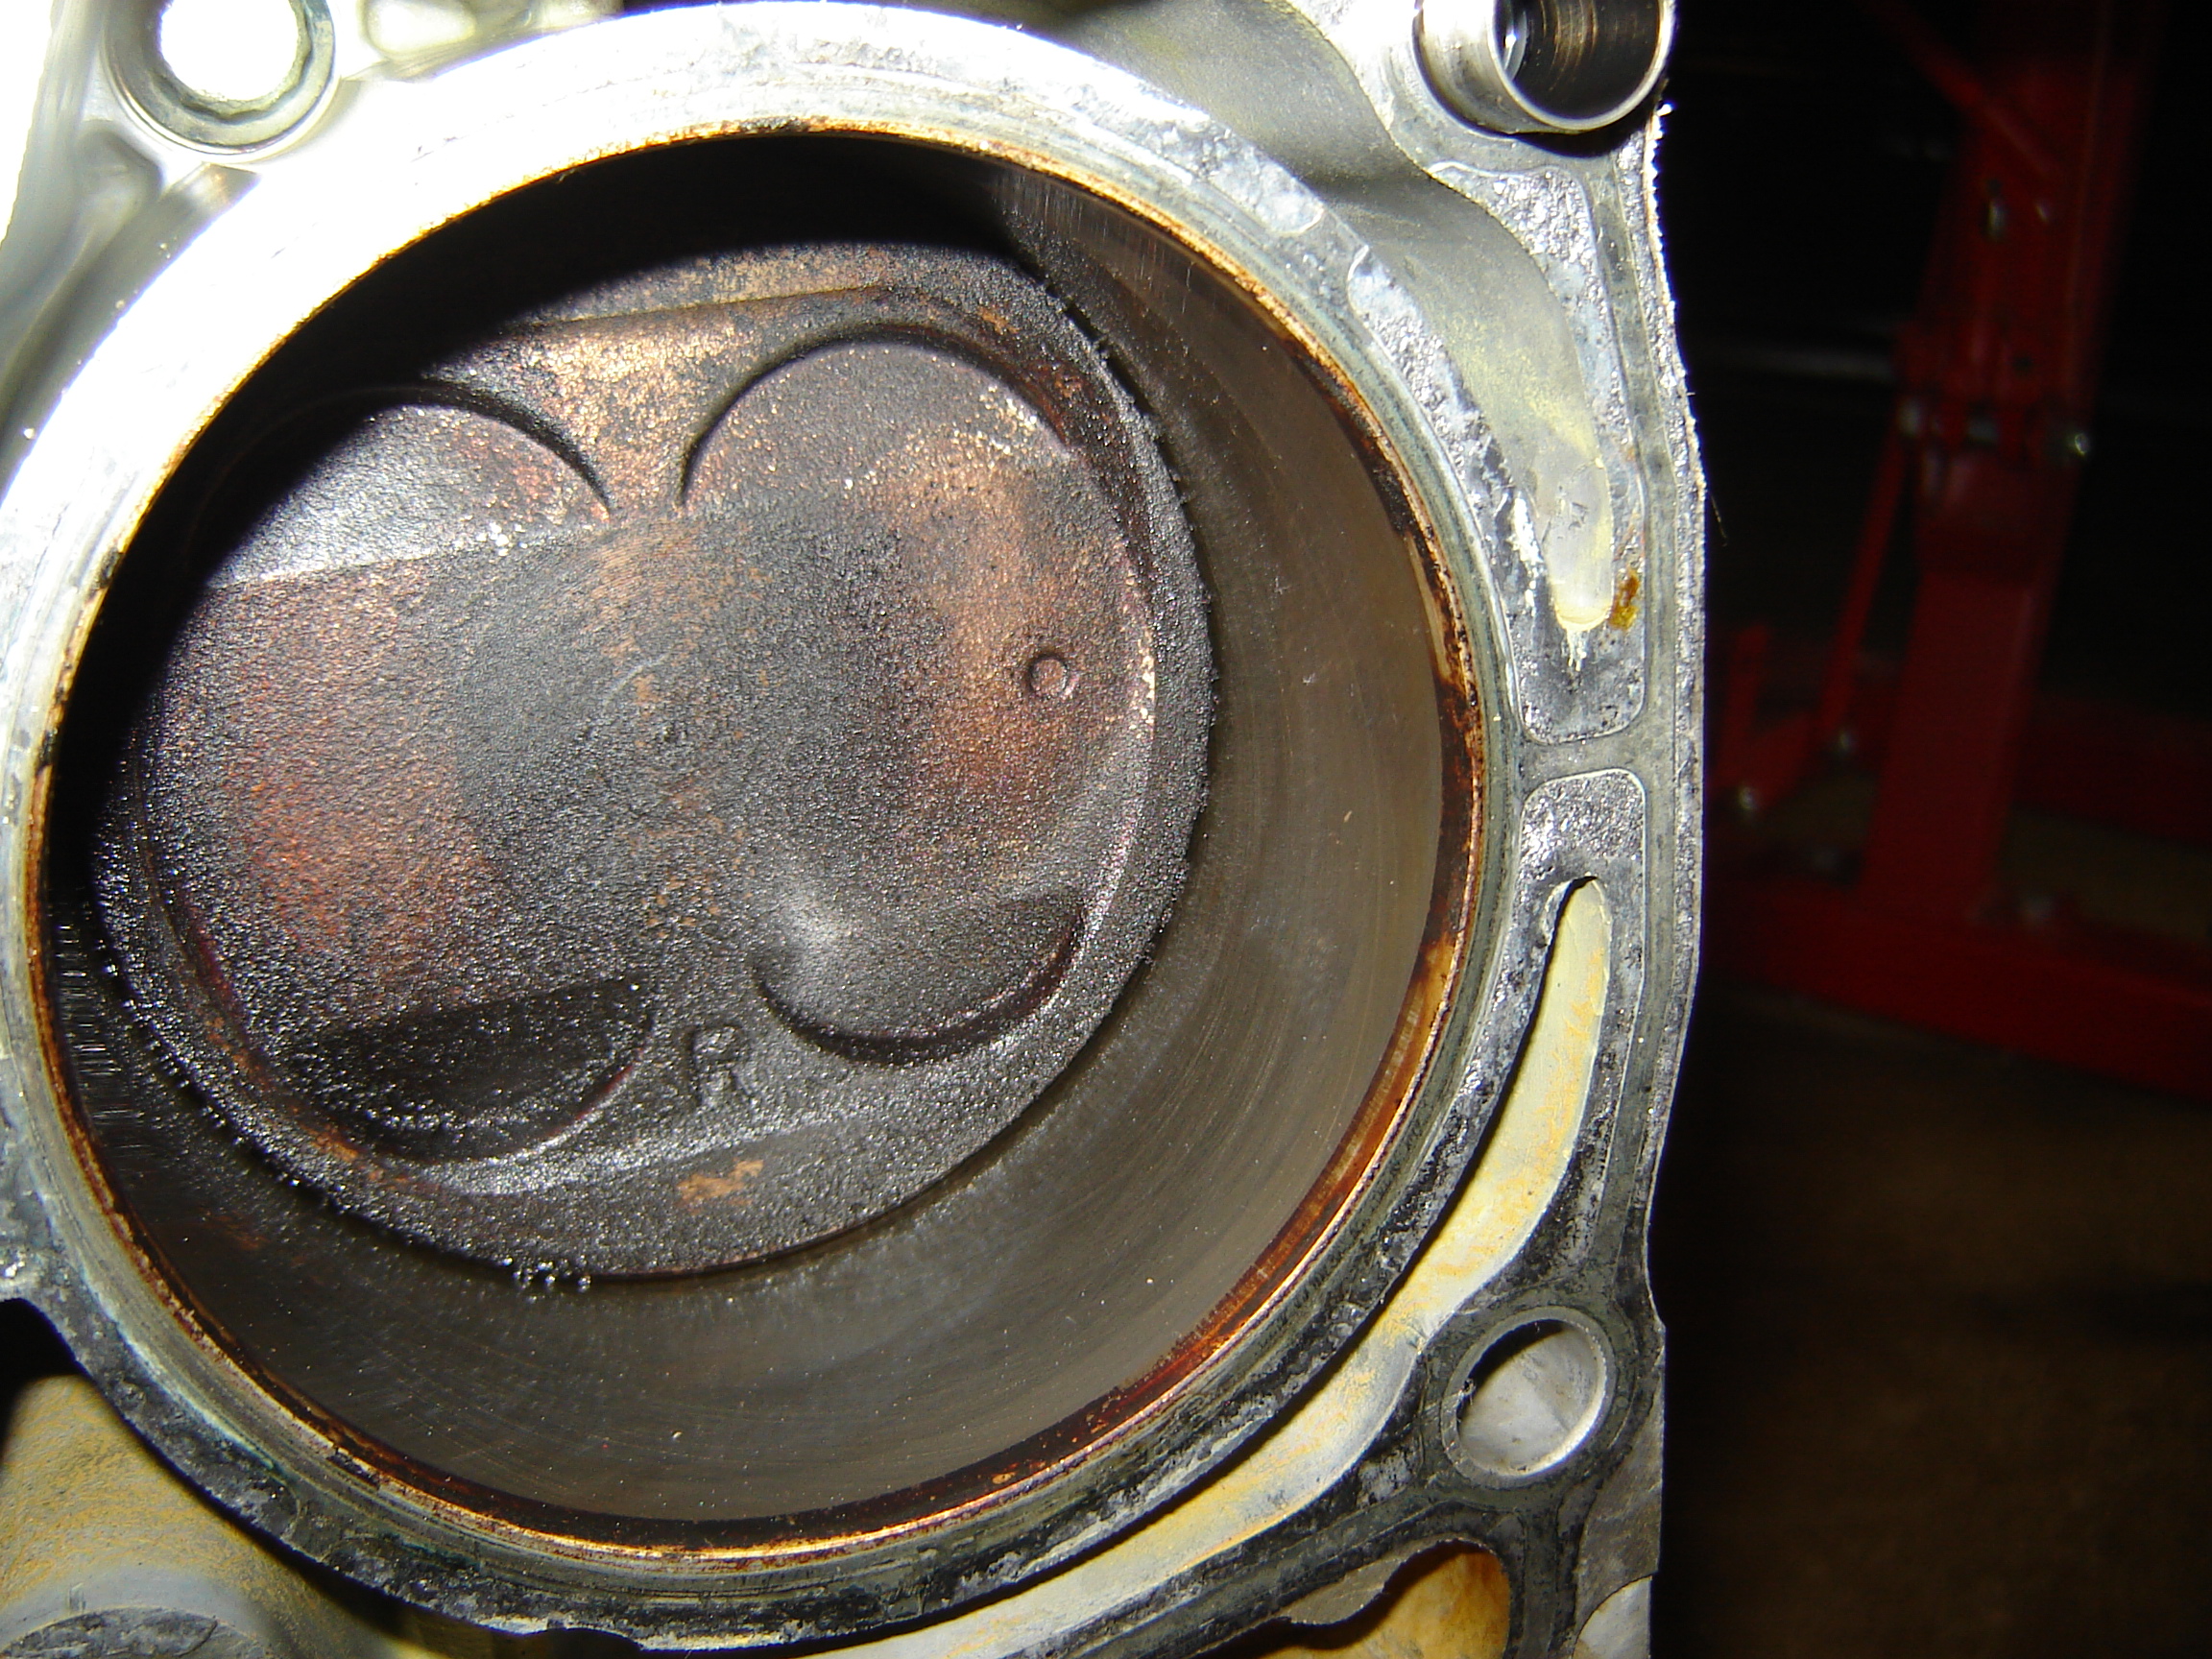
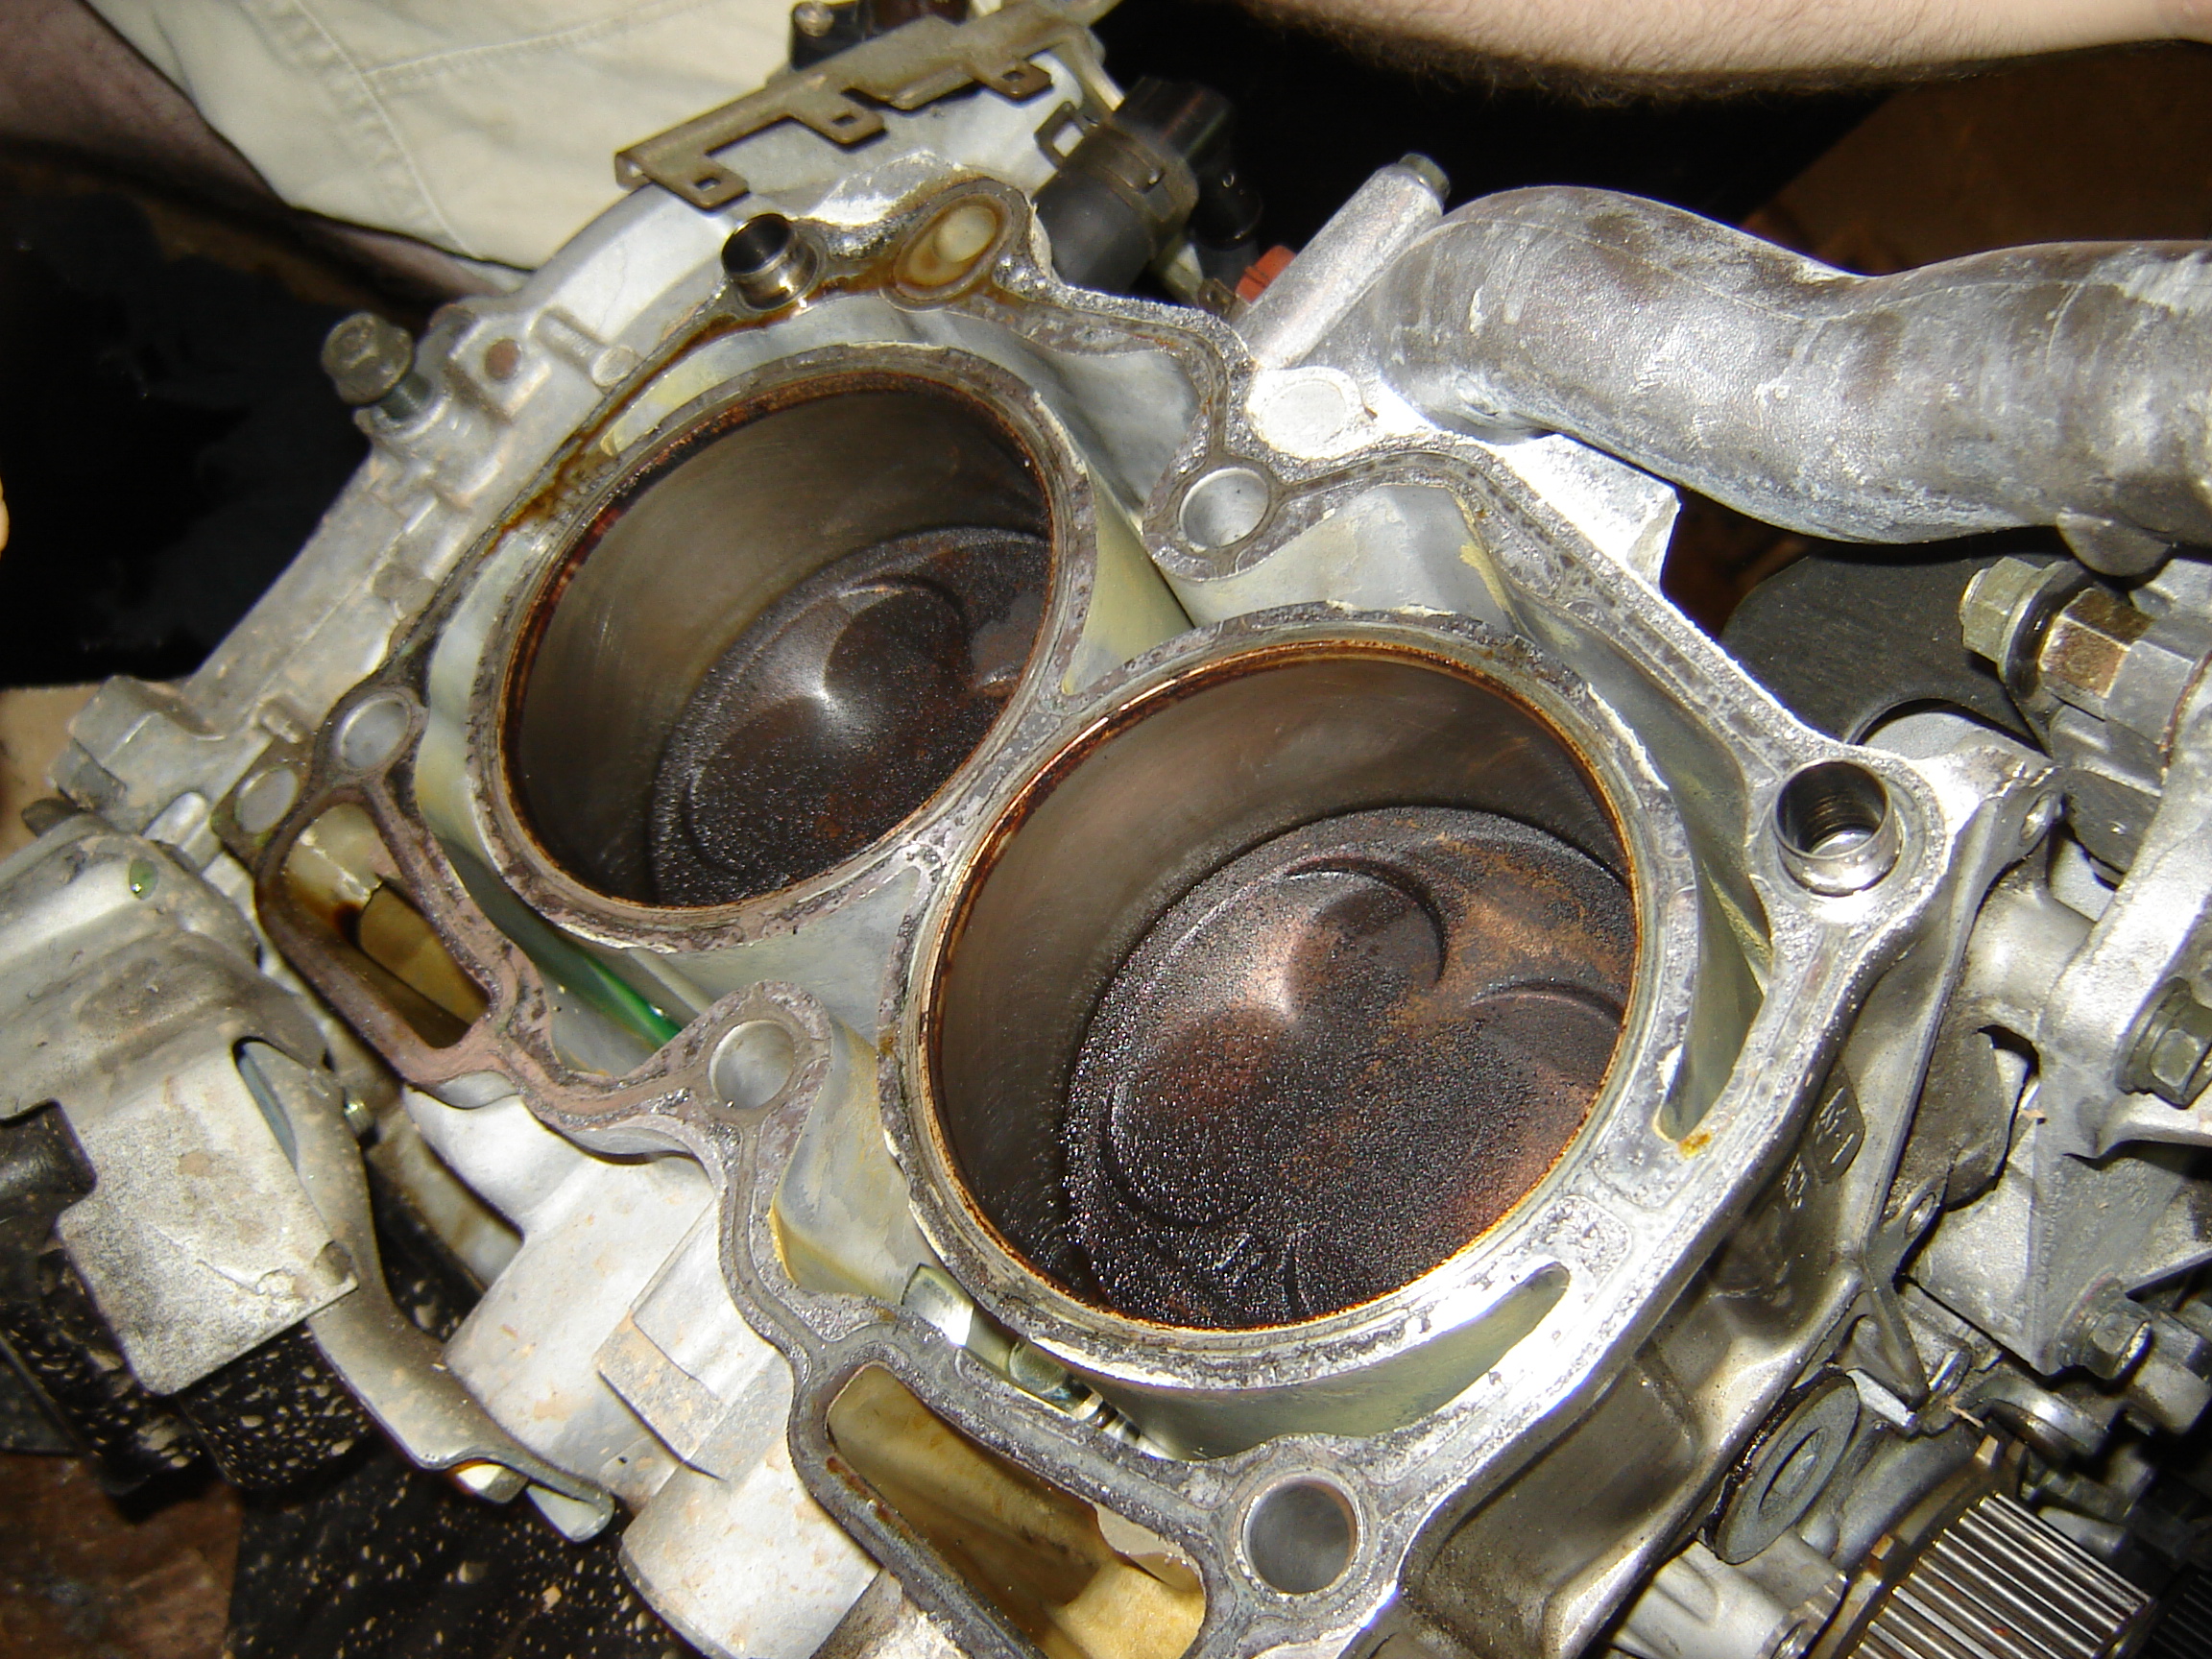
Once removed, you will clearly see the gasket. In the pictures provided, it is obvious that the OEM gaskets are not up to snuff, even on a low mileage engine as the one pictured. It is a complete mystery as to why Subaru would manufacture these this way, but it now seems to be water underneath the bridge. With your engine torn down to its short block, now is the time to have everything inspected. Make sure the heads are not warped in any way and check the pistons and cylinder walls for any abnormal wear. You should be able to still see and or feel the cross-hatching on the cylinder walls and the tops of the pistons can be cleaned in a careful manner.

Work backwards to install everything back as it should be: making sure to follow the 8-step torque process to reinstall the heads. The cams should be properly aligned and a new timing belt should be installed with the absolute correct number of teeth from each timing mark to next.


Reblogged this on STI Infatuation! and commented:
This is a pretty interesting article to read if you’re a gear-head and crave quirkiness…yes, the boxer design is quite quirky.
Apologies on the failed attempt to reblog your article. It failed because that particular blog that I tried to share to was deleted and I can’t back out of the request, so I reblogged it manually.
Pingback: Repairing EJ25 Head Gaskets | Subaru WRX & STI